Subworkflow Actions Menu Bar
Edit Name
Similarly to the re-naming procedure of the general parent workflow itself (see this page), each subworkflow component unit can be re-named appropriately from its original default "Empty Subworkflow" name (when a new workflow is being created from scratch), or "New Subworkflow" (when a new subworkflow is being added to an existing workflow).
The subworkflow name is visible at the left-end of the subworkflow actions menu bar, next to the general logo for subworkflows used throughout the Exabyte platform. Instructions on how this name can be changed are to be found in this page.
Insert Add-ons
On the right-hand side of the subworkflow actions menu bar, a series of buttons and a number spinner are present. The first one of these, starting from the left, is a three-dotted drop-down menu button allowing for the insertion of further Add-on subworkflows to the overall workflow flowchart, in addition to those already described in the final section of this page.
Following any such addition, the resulting sorted and complete list of subworkflows will always be shown on the left-hand sidebar of the Designer interface.
Add Subworkflows
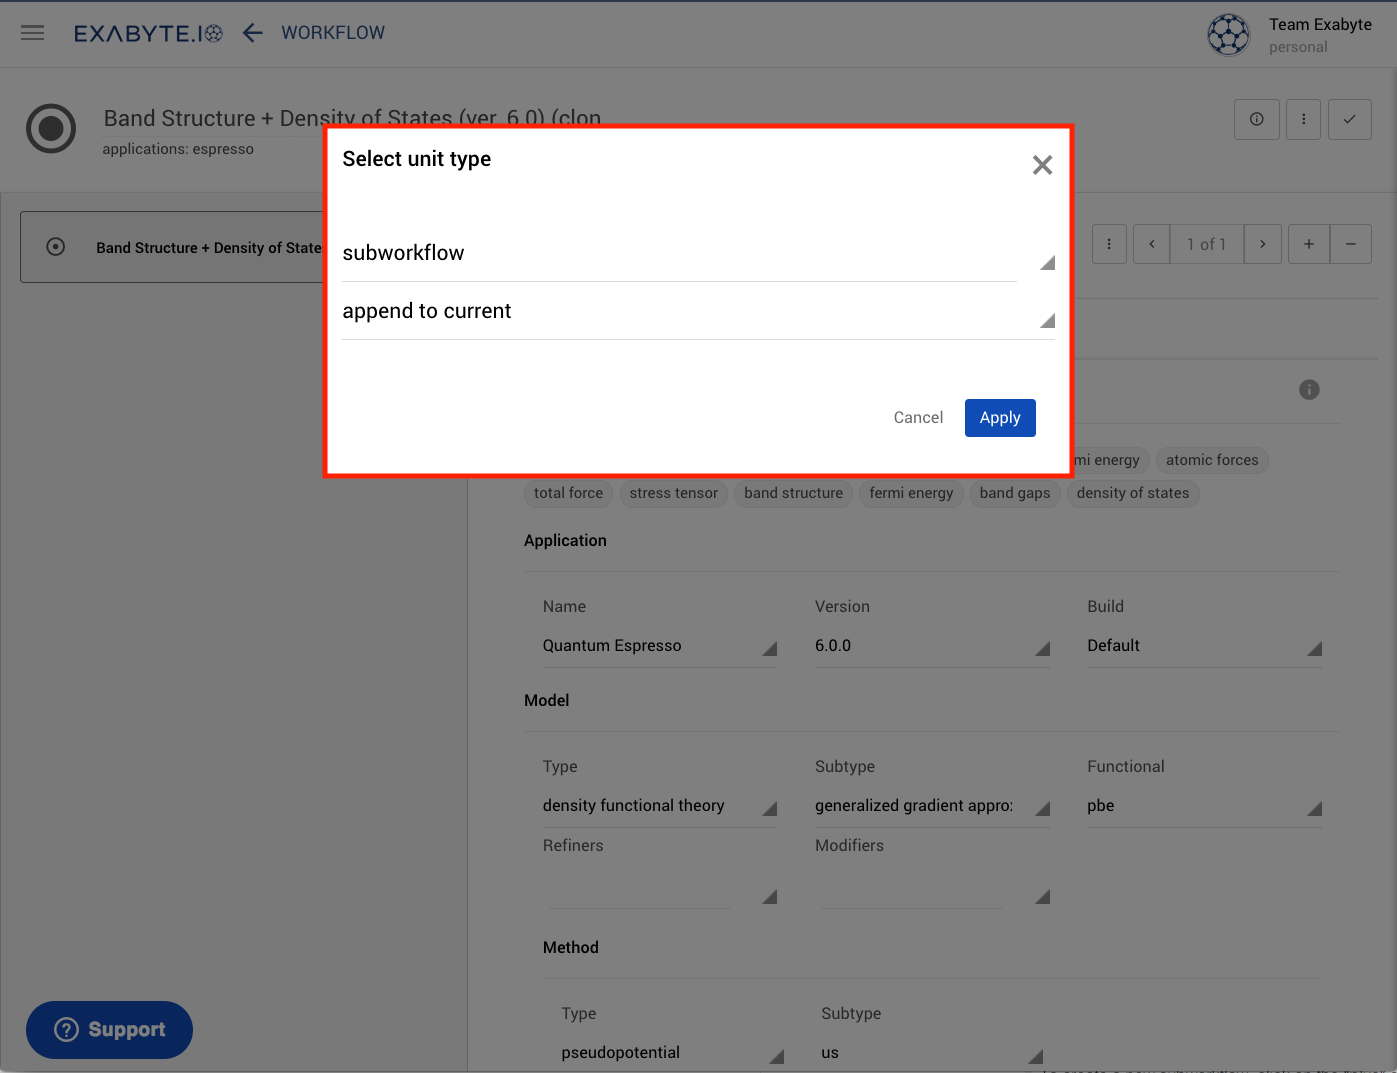
To create a new subworkflow and insert it as part of the general workflow flowchart, click on the “plus” sign on the right-end of the actions menu bar. The following dialog will open:

In this dialog, the user can choose whether to insert a new subworkflow or a map through the first drop-down menu (please refer to this and this other documentation pages respectively for an explanation of the fundamental differences between these two types of computing units).
Secondly, the choice between whether to append or prepend this new map or subworkflow with respect to the currently selected subworkflow module can also be made. The user can identify and change the currently selected subworkflow by referring to the main left-hand sidebar of the overall Workflow Designer interface, and clicking on the corresponding item out of the contained flowchart list. Once the "Apply" button is pressed, the new subworkflow or map with default initial parameters will be added to the workflow flowchart at the desired position.
Navigate Subworkflows List
Through the number spinner, the user can navigate between different selections of subworkflows, and the current selection out of the total number will be shown in the central part of the spinner. Every time this spinner is changed, the corresponding change in subworkflow selection can be seen to occur on the overall workflow flowchart displayed on the left-hand sidebar.
Remove Subworkflows
In order to delete any subworkflow module from the general workflow flowchart, first select it and then click on the "minus" button of the actions menu bar. As a result of this action, the subworkflow will disappear from the flowchart.
Animation
In the animation below, we offer a general summary of the main subworkflow actions described above. We will begin by inserting a new subworkflow to an existing band structure workflow flowchart, by appending it to the initial "Band Structure" pre-defined subworkflow. We then navigate to this new inclusion through the numbered spinner, and once it has been selected, we remove it from the overall flowchart, thus restoring the entire workflow to its original appearance.